
c++ vscode 编译环境
¶0 说明
以一个例子来说明 cpp 在 vscode (window)下编译,其中需要
vscode – IDE
MinGW64 – g++,gdb …
CMake – cmake
注:其中 MinGW64 以及 CMake 需要添加到环境变量path
vscode 需要 插件 如下:
c/c++
CMake
CMake Tools
以下以例子说明整个编译调试过程,文件夹 example,创建 main.cpp 函数,其主要作用是 swap 。先从单文件编译,到多文件编译,最后通过 cmake 来进行多文件的编译。
¶1 单文件编译
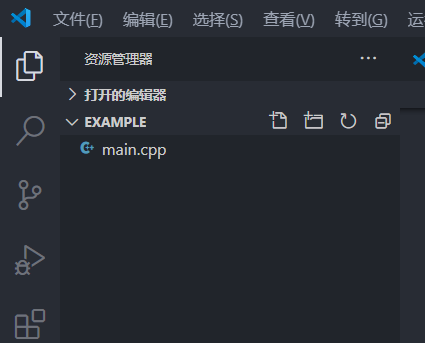
打开 example 文件下,创建 main.cpp 函数:
1 |
|
¶1.1 利用终端命令行来生成可编译文件
命令行如下:
1 | g++ -g ./main.cpp -o out1 |
- g++
- -g :可编译调试
- ./main.cpp :待编译文件 (单)
- -o out1:输出 out1.exe 可执行文件
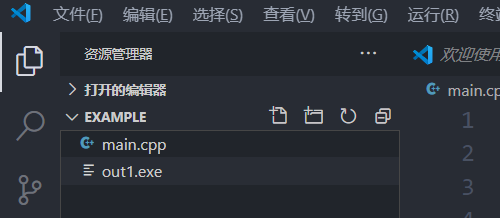
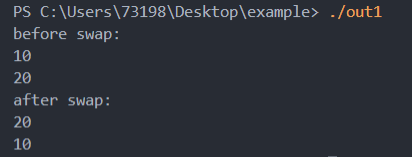
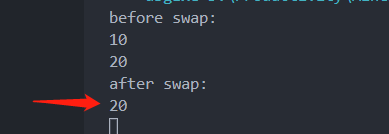
通过命令行来执行 out1.exe,结果如下:
1 | ./out1 |
¶1.2 调试
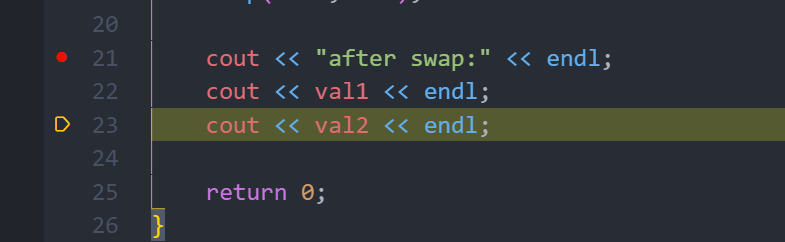
在 main.cpp 19 行打上断点,通过按 ==F5==,在弹出的窗口中依次选择 c++ GDB,g++ exe,系统自动生成 ==launch.json==,==tasks.json== 并置于 .vscode 文件夹下,同时还有自动生成的 main.exe 文件。


可以发现编辑窗口,程序已经击中断点,并可以单步调试,需要注意的是此时的调用的 exe 文件是 ==main.exe==。

¶1.2 json 文件配置
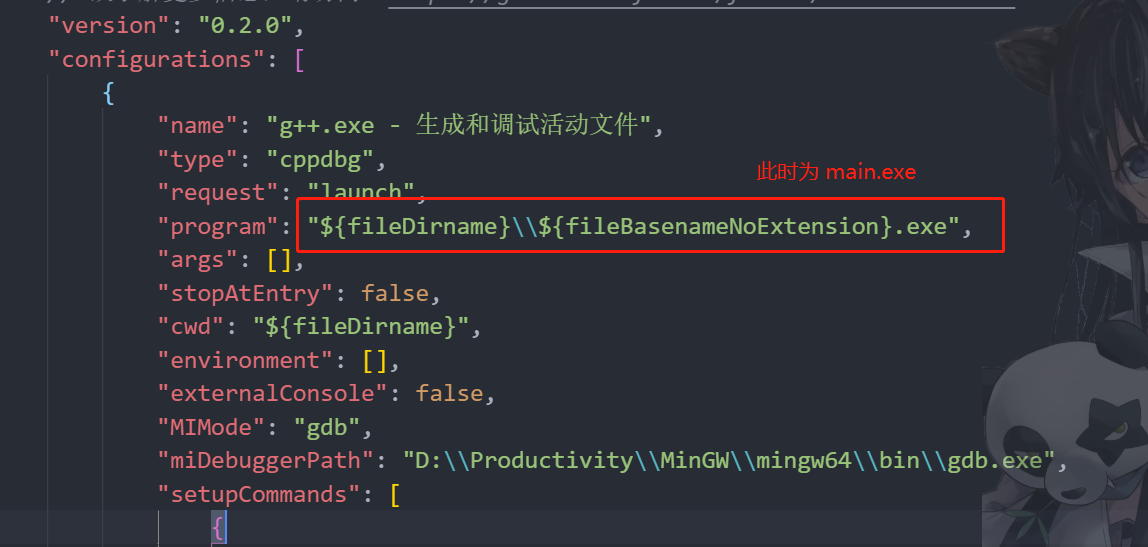
上文为什么调用 main.exe 文件,而不是使用之前生成的 out1.exe ,这是因为自动生成的 launch.json 和 tasks.json 决定的。
- launch.json 中 program 使用的 main.exe (由 tasks.json 来生成)
- tasks.json command : g++,args: -g ./main.cpp -o main (恰好与1.1节命令行相类似)

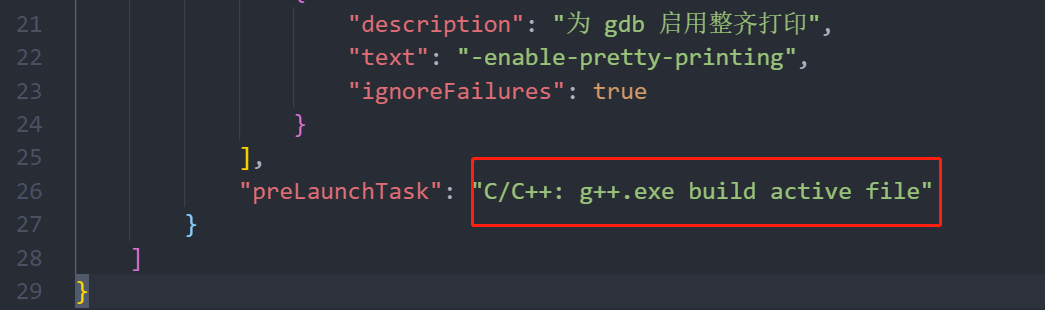
launch.json 之所以可以使用 tasks.json ,是因为 ==preLauchTask== 标签值与 tasks.json 的 label 相同。
如果注释掉 launch.json 中 preLaunchTask 并修改 program 为 out1.exe ,即可使用之前生成的 out1.exe 来调试。
1 | "program": "${fileDirname}\\out1.exe", |
但是,这样的操作会有一个非常麻烦的问题,如果对 main.cpp 函数进行修改,则需要重新使用命令行生成可调式编译文件,这样才重更新调试,否则只是调试之前生成的 exe 而已。
所以 tasks.json 的作用就是可以简化这个过程,每次可以通过调用 task.json 的参数来重新生成 exe 文件。
¶2. 多文件编译
修改 main.cpp 函数,拆分成 main.cpp swap.cpp swap.h,如下所示:
main.cpp
1 |
|
swap.cpp
1 |
|
swap.h
1 | void swap(int &a, int &b); |
¶2.1 利用终端命令行来生成可编译文件
命令行如下:
1 | g++ -g ./main.cpp ./swap.cpp -o out2.exe |
- g++
- -g :可编译调试
- ./main.cpp ./swap.cpp:待编译文件 (多)
- -o out2:输出 out2.exe 可执行文件
通过命令行来执行 out2.exe,结果相同。
1 | ./out2 |
¶2.2 调试
此时如果按照之前的步骤调试会报错,需要修改 tasks.json ,将其改成多文件。
1 | "args": [ |
需要注意的是,launch.json 的 program 也要更改到 out2.exe 的路径。
经过修改,同样可以击中断点并且可以调试。
¶3. CMake 使用
编写 CMakeLists.txt
1 | project(MYCmake) |
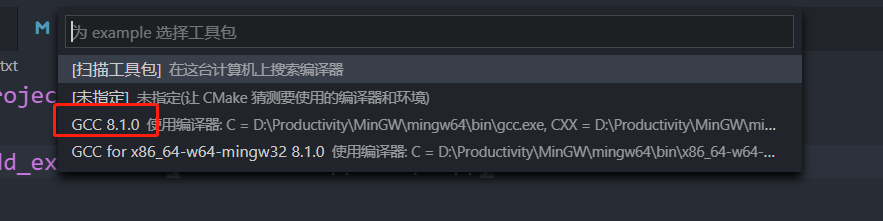
¶3.1 方法一
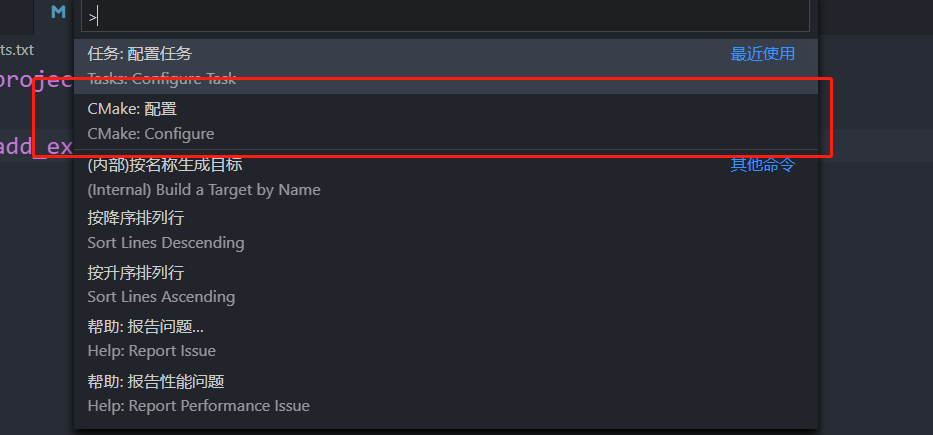
之后按 shift+ctrl+p 搜索 cmake configure,后点 GCC 8.1.0 ,会自动生成 build 文件,内部包含makefile文件。

进入 build 文件夹:
1 | cd build |
后依次命令行输入,生成可执行文件 out3.exe,置于 build 文件夹下。
1 | cmake .. |
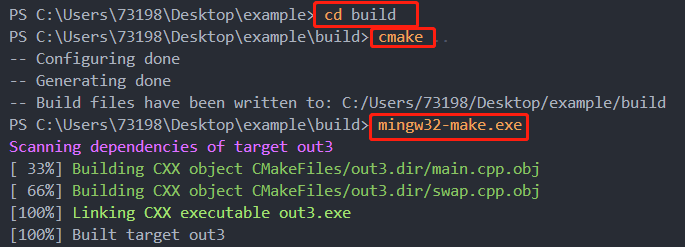
out3.exe 与之前的 out1.exe,out2.exe 相同,都是可以进行debug的。
¶3.2 方法二
方法二主要就是不使用 shift+ctrl+p 等操作,而是自己创建 build 文件夹,并使用
1 | cmake .. |
其中如果存在VS的情况下可能会在cmake … 阶段报错,需要使用
1 | cmake -G "MinGW Makefiles".. |
该命令仅第一次使用即可,后面继续使用 cmake …
如果还报错,先清空文件夹在操作以上步骤
1 | rm * |
¶3.3 方法三
使用 tasks.json 来完成以上的过程,将命令写入其中:
1 | { |
按照CMakeLists.txt
1 | project(MYCmake) |
相应的修改 launch.json 中可执行文件路径。
1 | "program": "${fileDirname}\\build\\out4.exe", |
最终可以 debug 的 out4.exe 文件。
¶附录
launch.json
1 | { |
tasks.json
1 | { |
CMakeLists.txt
1 | project(MYCmake) |
main.cpp
1 |
|
swap.cpp
1 |
|
swap.h
1 | void swap(int &a, int &b); |